
Rear extension examples for brighter, more connected family spaces

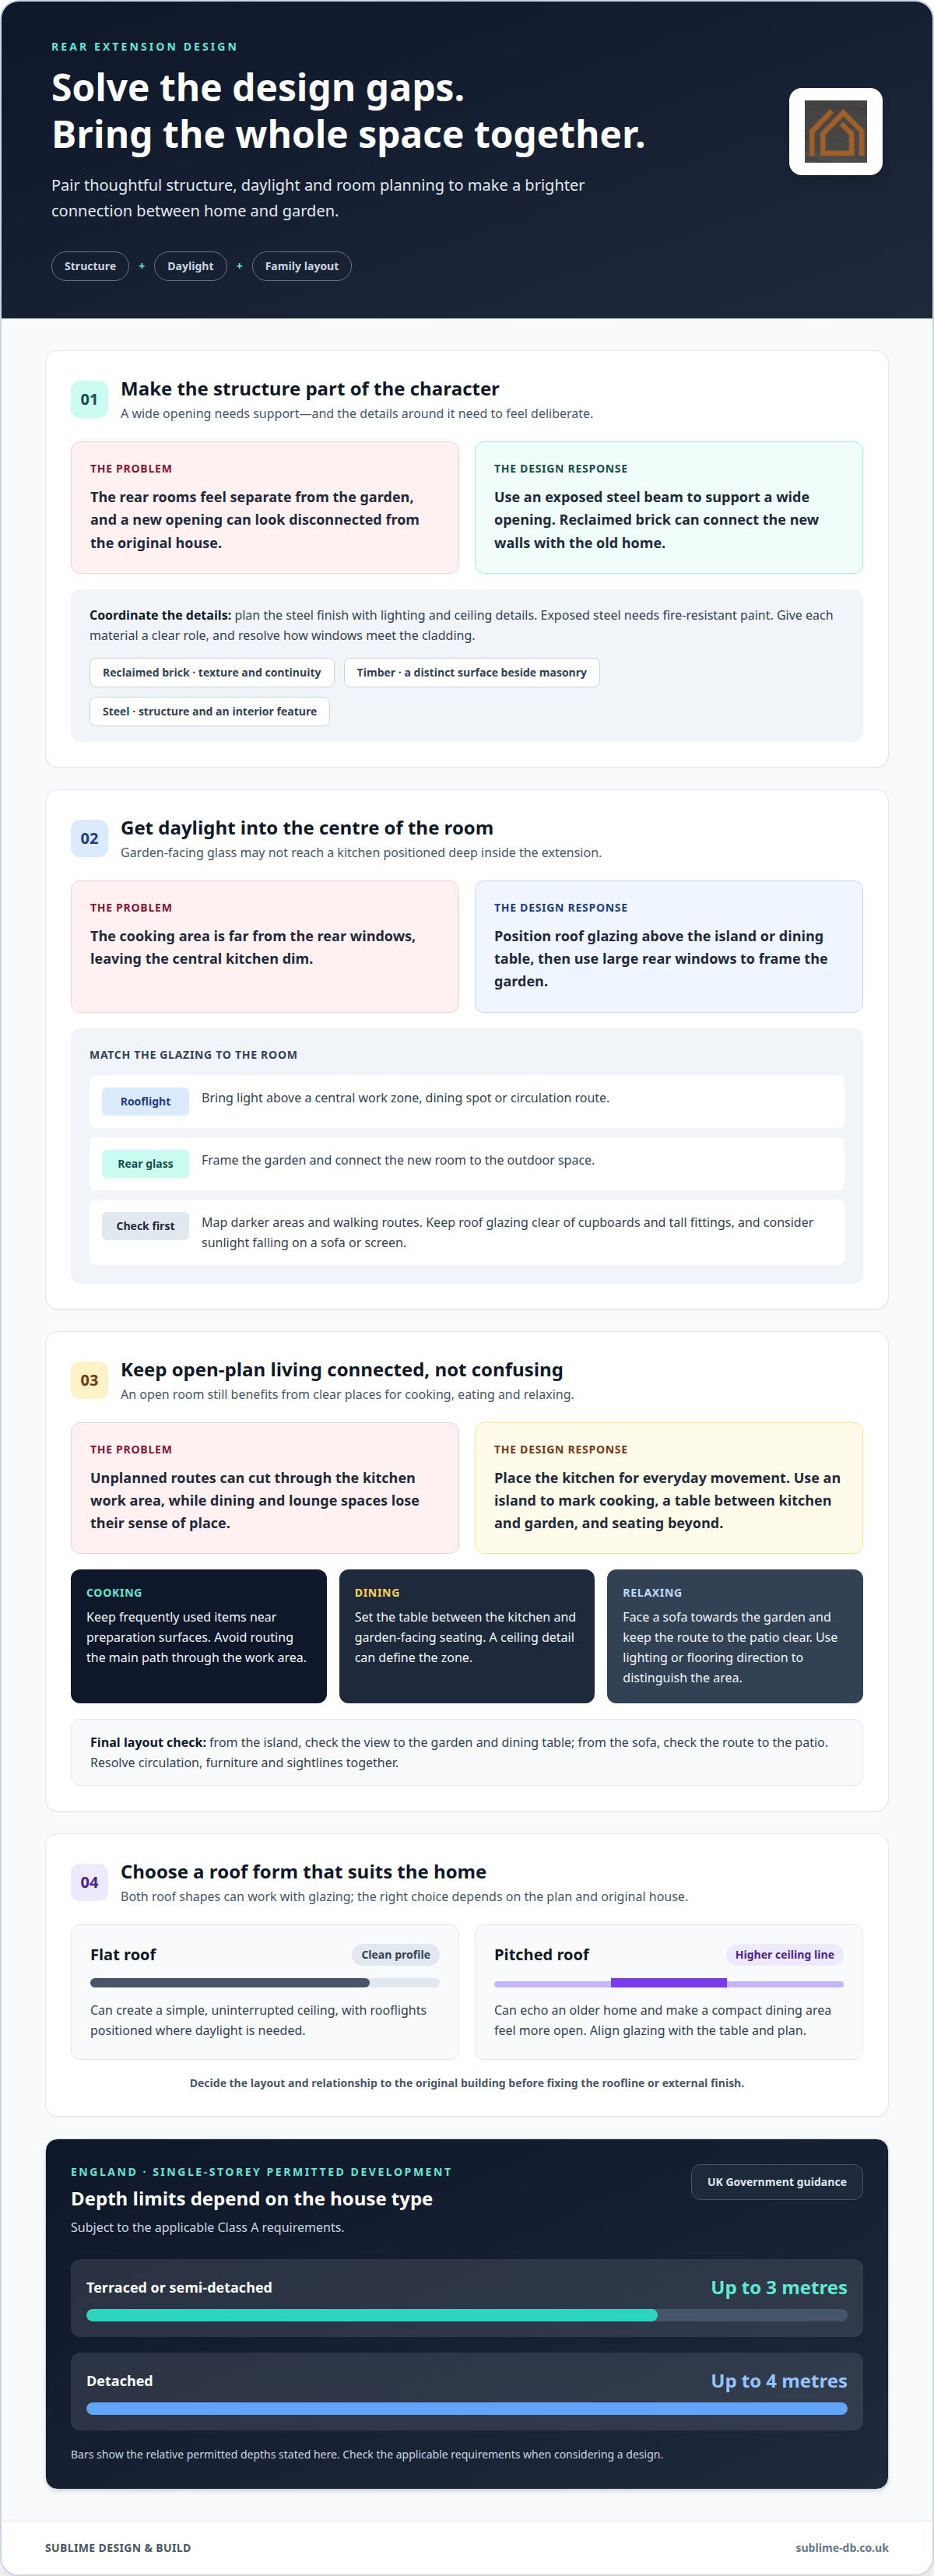
A brighter rear extension is shaped by more than the amount of glazing. The strongest rear extension design ideas combine daylight, structure and materials with a layout that suits family life, from exposed steel and reclaimed finishes to open-plan kitchens and living spaces. In England, permitted development allows a single-storey rear extension up to 3 metres deep for a terraced or semi-detached house, or 4 metres for a detached house, subject to the applicable Class A requirements, according to the UK Government.
It’s natural to focus on creating more room, but how that space connects to the garden and the rest of the home matters just as much. These rear extension design ideas show how considered glazing, visible structural details and carefully planned layouts can bring light and connection into everyday family spaces, from single-storey designs to larger additions.
Table of Contents
Exposed structural steel and reclaimed materials
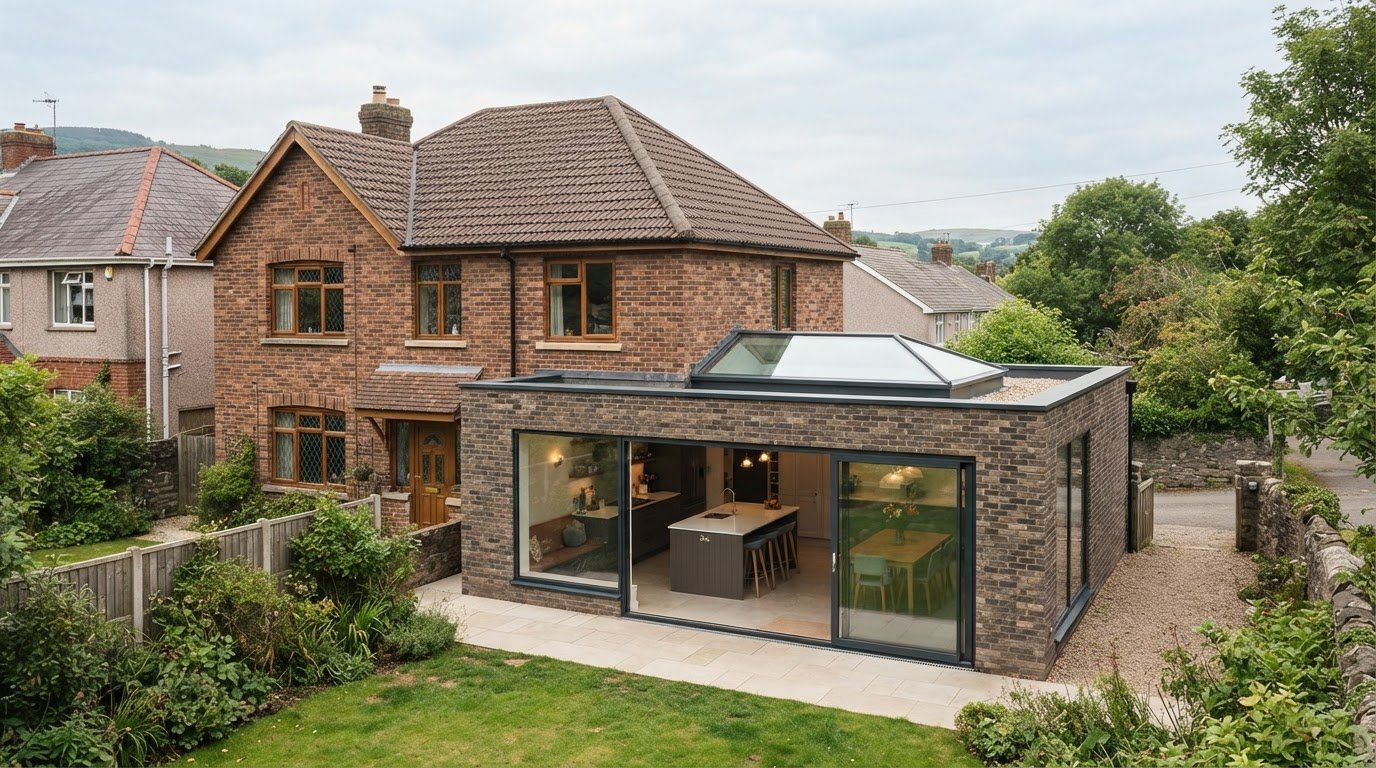
For a modern rear extension, combine durable exterior finishes with a roof shape that suits the original house. Exposed steel can frame a wide opening between the kitchen and garden, while reclaimed brick or timber adds texture and continuity. A flat roof creates a clean profile; a pitched roof can echo an older home. Either can work with glazing, positioned to suit daylight and the room layout.
Consider a 1930s semi as a design example. Situation: the existing rear rooms feel separate from the garden, and a new opening is needed. Action: use an exposed steel beam to support the opening, then reuse reclaimed brick as a link between old and new walls. Result: the frame becomes an intentional interior feature, while the brick helps the extension sit comfortably beside the original home. The steel’s finish should be planned alongside lighting and ceiling details.
According to The National Archives, permitted development rules for rear extensions are set out in Schedule 2 of the Order, divided into parts and classes. That framework makes the extension’s form and relationship to the existing house relevant design considerations. Before fixing a roofline or external finish, establish the proposed layout and check how the design relates to the original building. Structural steel also needs fire-resistant paint, so its exposed appearance should be coordinated with the required protective finish.
When choosing cladding, compare the existing façade with the character you want for the extension. Reclaimed brick can pick up the colour and texture of an older wall; timber introduces a distinct surface beside masonry. A restrained palette helps the materials meet deliberately. First choose the wall finish, then coordinate it with the steel and roof edge, and finally resolve how the windows meet the cladding. These rear extension design ideas work best when each material has a clear role, from supporting the structure to connecting the new space with the house.
Glazed roofs and windows to increase natural light
A glazed roof can bring daylight into the centre of a rear extension, where garden-facing windows alone may leave the kitchen dim. A rooflight above an island, dining table or circulation route brings light from above. Large rear windows can then frame the garden and connect the new room to it. Position both types of glazing around the activities below, rather than treating them as decorative afterthoughts.
Consider a deep extension with a kitchen at its centre. If the rear wall has windows but the cooking area is far from them, place roof glazing over the island and full-height glazing at the garden end. Daylight can then reach the central work zone and seating area, while the rear opening frames the garden. This layout also distinguishes cooking, dining and relaxing areas without adding partitions.
Roof shape affects how glazing meets the existing house. A flat roof can create a simple, uninterrupted ceiling, with rooflights positioned where daylight is needed. A pitched roof introduces a higher ceiling line and can make a compact dining area feel more open. For example, align a glazed section above the table and use side windows to bring light across the room. The right arrangement depends on the plan, roof structure and position of neighbouring walls.
Before choosing glass, map the room’s darkest points and the path people take through it. Keep roof glazing clear of cupboards and tall fittings, and consider how direct sunlight may fall across a sofa or screen. Pair a rooflight with a side window where a single glazed opening cannot serve the whole space. For a coordinated design that brings structure, glazing and layout together, explore extension design and build as part of the planning process.
Open-plan kitchens and family living spaces
An open-plan rear extension works best when cooking, dining and relaxing each have a clear place. Map the route from the existing house to the garden, then position the kitchen so everyday movement stays unobstructed. An island can mark the cooking zone without closing it off. Place the dining table between the kitchen and garden, with seating beyond it. This arrangement connects family activities while keeping the room easy to navigate.
In a Newport family home where the dining area feels disconnected from the kitchen, arrange the table between the kitchen and garden-facing seating. A change in ceiling detail can distinguish the dining zone while keeping the open layout visually connected. The result is a recognisable place for each activity, with the garden still in view.
In a family kitchen, plan storage and appliance positions before settling the dining or lounge arrangement. Keep frequently used items close to preparation surfaces, and avoid routing the main path through the work area. A bench beside the dining table can make use of a wall, while a sofa facing the garden creates a separate place to relax. These choices help an open room support different routines without full-height partitions.
Finish the plan by checking sightlines from each zone. From the kitchen island, check whether you can see the garden and dining table; from the sofa, keep the route to the patio clear. Use flooring direction, ceiling detail or pendant lighting to distinguish dining from lounging. In a Cardiff home, a dining table aligned with the garden doors can make the view part of family meals. Coordinate circulation, furniture and architectural details before settling the layout.
Single-storey rear extension design ideas
A single-storey extension adds ground-floor space, while a two-storey design also creates an upper-floor room. The additional storey could provide a bedroom or bathroom, but it also changes the home’s rear elevation and relationship with neighbours.
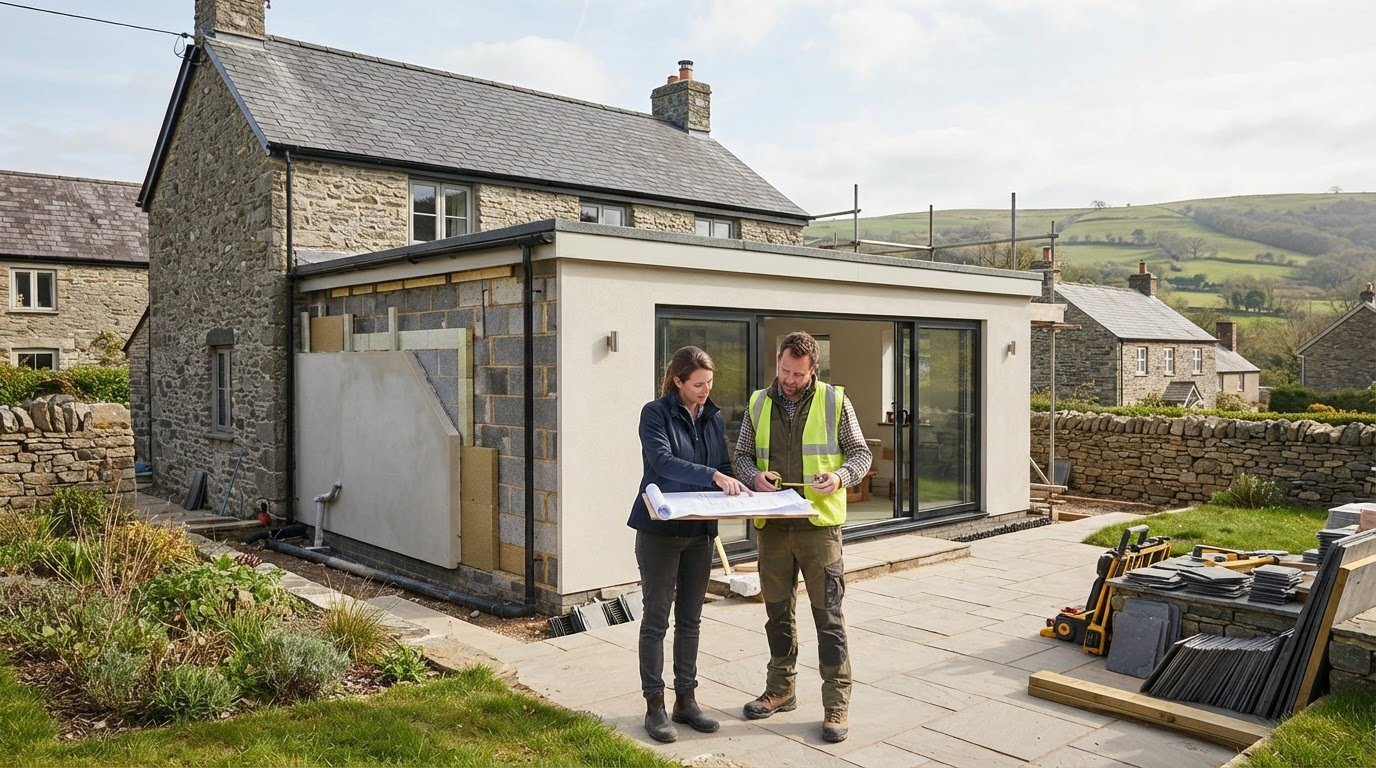
Victorian and Edwardian homes often have features such as original brickwork, rear windows and compact kitchens. For a terraced home, consider the façade, garden access and available width when shaping the extension. One cottage project extended three metres into the garden, showing how a defined footprint can add usable space without dominating the whole garden.
Every extension, regardless of size or location, must meet building regulations. Plan structural work and technical requirements alongside the layout. In one single-storey project, builders lowered the floor by 900 mm to gain ceiling height. This illustrates how floor levels can affect proportions and the connection between old and new rooms.
Conservation-area status can influence the planning route and design choices, including the external appearance. Party-wall considerations may also arise if proposed work affects a shared wall or boundary, so identify these relationships during early planning.
Design and construction time depends on the project’s complexity, design decisions, approvals, site access and construction sequence. Common mistakes include blocking garden access, overlooking storage and leaving awkward level changes unresolved. Map furniture, circulation and thresholds before finalising the layout, then coordinate structural details with the intended use. For a tailored design that brings these decisions together, discuss your single-storey extension.
A South Kensington Georgian-style cottage extension that reached three metres into the garden offers a useful prompt: judge the depth against how the garden is used. Before fixing the footprint, consider which outdoor areas should remain open and how doors, glazing and seating will relate to them. A clear view from the existing rooms can help the new space feel connected, while carefully placed storage and kitchen functions keep circulation practical. Let the plan respond to the cottage’s character rather than treating the rear addition as an isolated room.
Sublime Design & Build: Planning Application Management
Sublime Design & Build can help turn your preferred layout and materials into a coordinated extension project. Its Planning Application Management supports the application process, while Building Regulations Compliance addresses the requirements the design must meet. These services are useful when you’re moving from ideas to drawings and need planning and technical details considered alongside the build.
For a single-storey or double-storey rear extension, connect the design decisions, application management and construction stages from the outset. This helps keep the proposed layout and intended structure aligned as the project progresses. If you’re ready to discuss your plans, contact Sublime Design & Build.
Turn your preferred design into a clear next step
Before committing to a layout, write down what the new space needs to make easier: cooking together, keeping children in view or opening directly onto the garden. Then separate the design choices that support those routines from those that are mainly visual preferences. This brief gives your rear extension design ideas a practical starting point and keeps decisions connected as the project develops.
Sublime Design & Build Ltd can support homeowners with Planning Application Management, Building Regulations Compliance and New Builds, as well as single and double-storey extensions. Bring your priorities and preferred direction to an initial discussion, then explore how the design and required project stages can align. Contact Sublime Design & Build Ltd to discuss your plans and take the next step towards a family space shaped around your home.
Frequently Asked Questions
What are the most popular rear extension design ideas for UK homes?
Popular rear extension design ideas include contrasting old and new façades, roof glazing and flexible spaces that connect the kitchen with the garden. In Monmouthshire, Newport and Cardiff, consider how the extension will sit beside the existing home, including its brickwork, window proportions and garden boundaries. A useful starting point is to choose one priority, such as family dining, then shape the layout and finishes around it.
How can a rear extension maximise natural light and garden views?
Position windows to frame the part of the garden you want to see from everyday seating, rather than simply filling the rear wall with glass. A rooflight can bring daylight to an internal dining or cooking area, while a clear route to the garden keeps the view open. Before finalising the plan, mark furniture positions and check that tall cupboards won’t block light or sightlines.
Do rear extensions need planning permission or can they use permitted development rights?
Some rear extensions in England can use permitted development rights, subject to applicable Class A requirements. According to the UK Government, the single-storey depth limit is 3 metres for terraced and semi-detached houses, or 4 metres for detached houses. The neighbour consultation scheme allows up to 6 metres for terraced or semi-detached houses and 8 metres for detached houses, subject to prior approval. These limits don’t replace the other requirements.

Comments